|
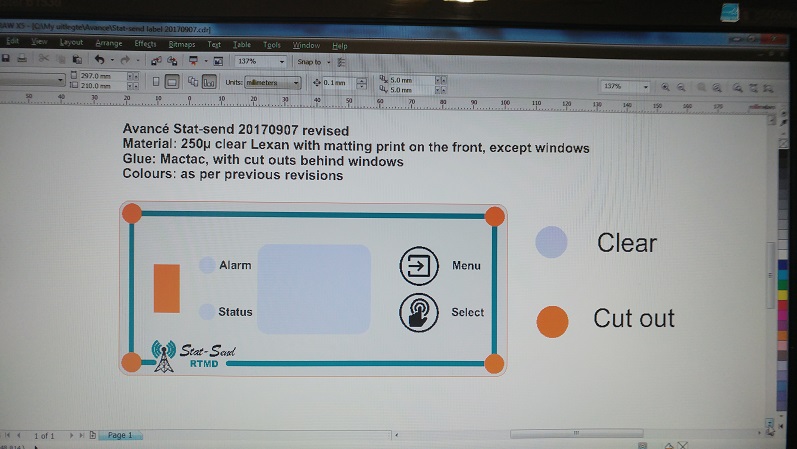
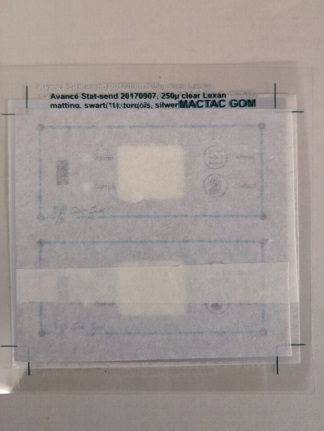
The
layout is made according to the clients specifications, using
CorelDraw. After the proof has been accepted, we do a colour
separation and send the files to have positives made
 |
|
|
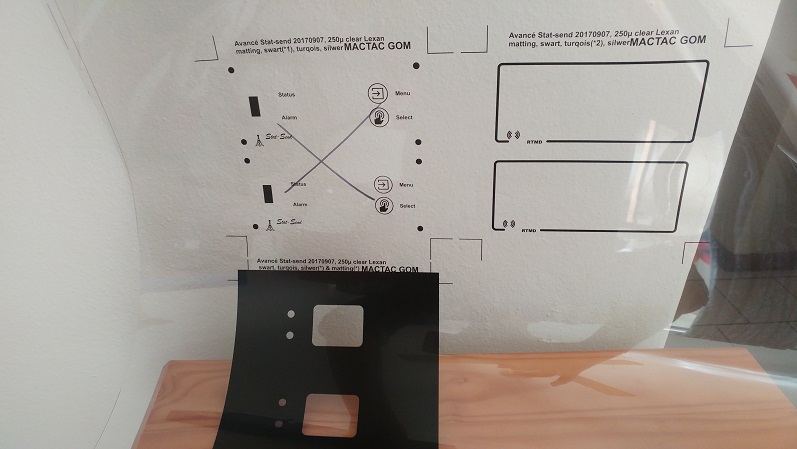
Checking
positives
 |
|
|
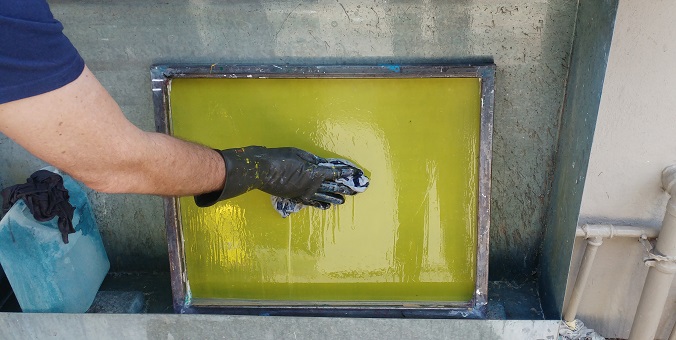
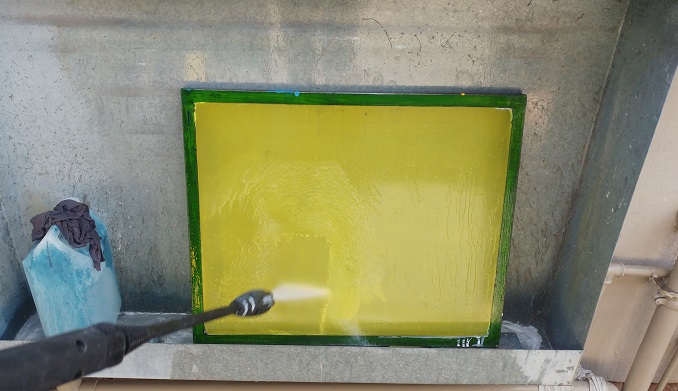
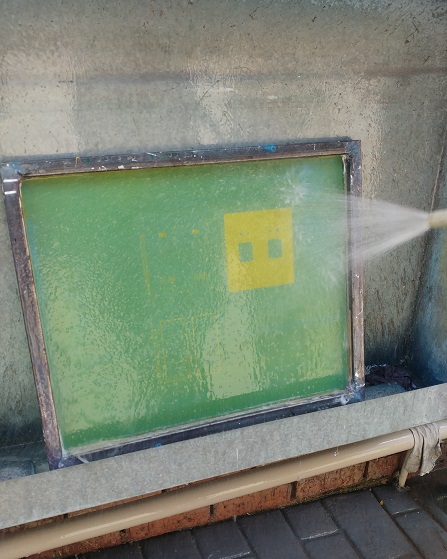
Cleaning the
screen with special chemical products and a high pressure washer
 |
|
|
When the
screen is dry, it is covered with a light sensitive photo emulsion
and left to dry in the dark room
 |
|
|
The
positive is placed between the screen and a glass table. The screen
is developed through a short exposure with high intensity light
.jpg) |
|
|
The
undeveloped parts (the image to be printed) is washed out, leaving
the image on the screen
 |
|
|
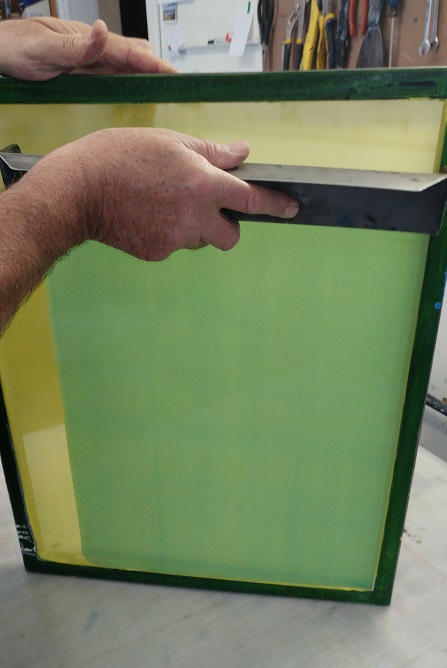
The screen is
left to dry
 |
|
|
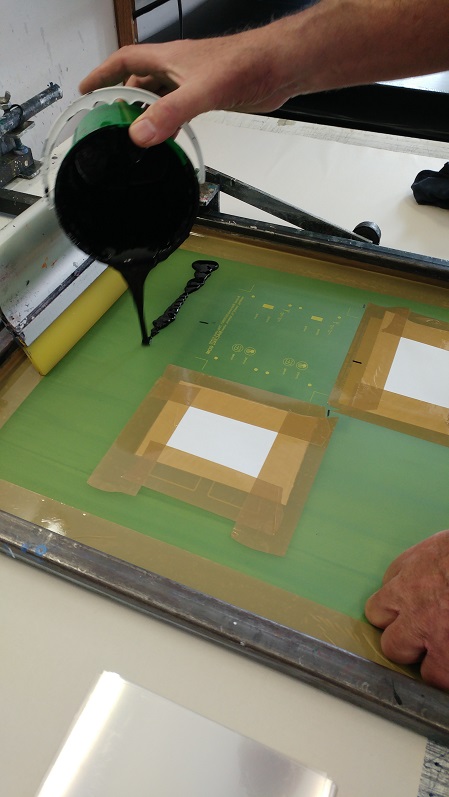
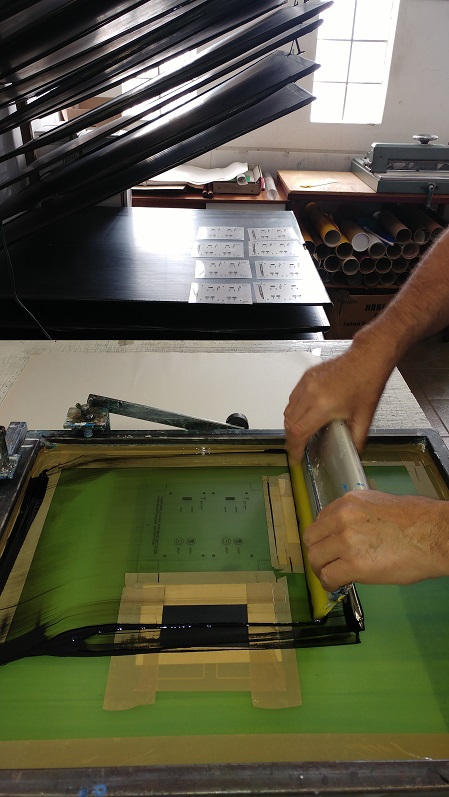
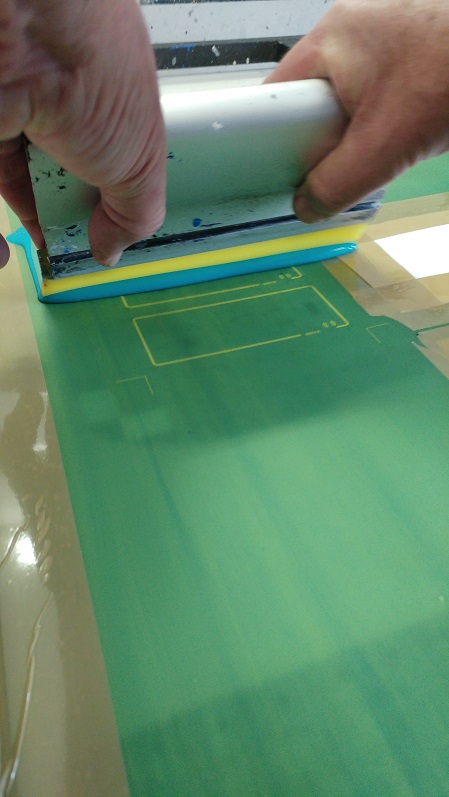
The screen is
set-up on a vacuum table, and the first colour is printed by forcing
the ink through the screen using a squeegee.
 |
|
|
After the ink
has dried, the process is repeated for every colour
 |
|
|
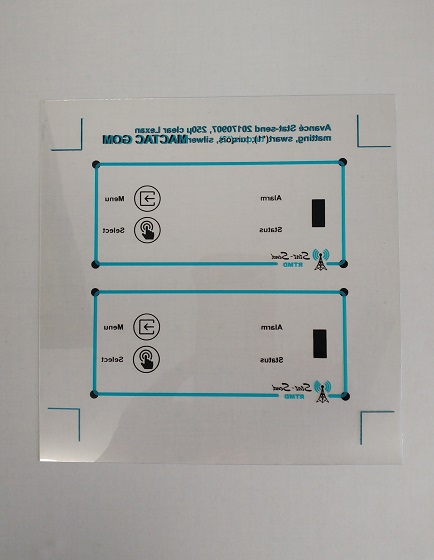
Once all the
printing is completed, it is time to apply the double sided
adhesive. If necessary, some cut-outs are made in the adhesive.
 |
|
|
The adhesive is
applied
 |
|
|
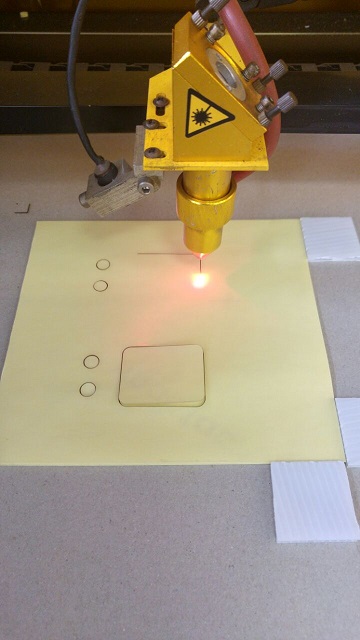
Before we do
laser cut-outs, a protective layer is applied to the front
|
|
|
Laser cutting
 |
|
|
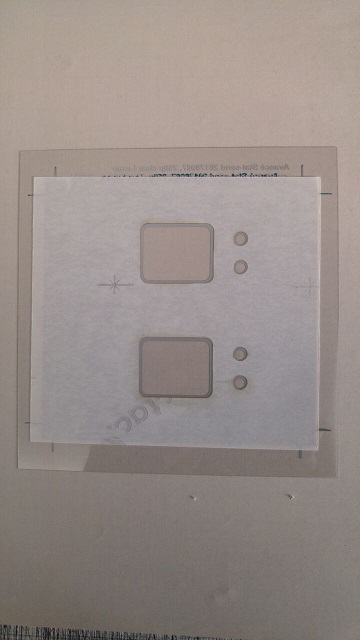
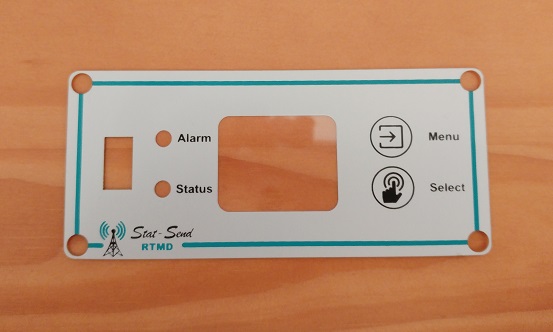
The final
product
 |
|